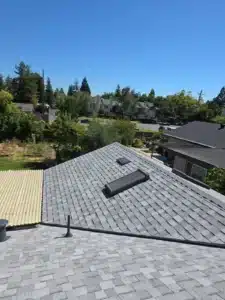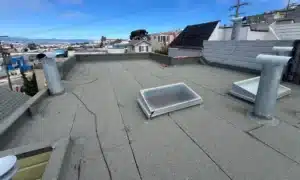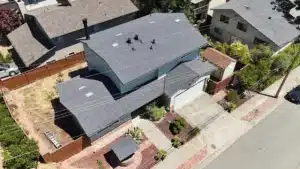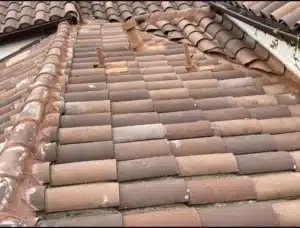
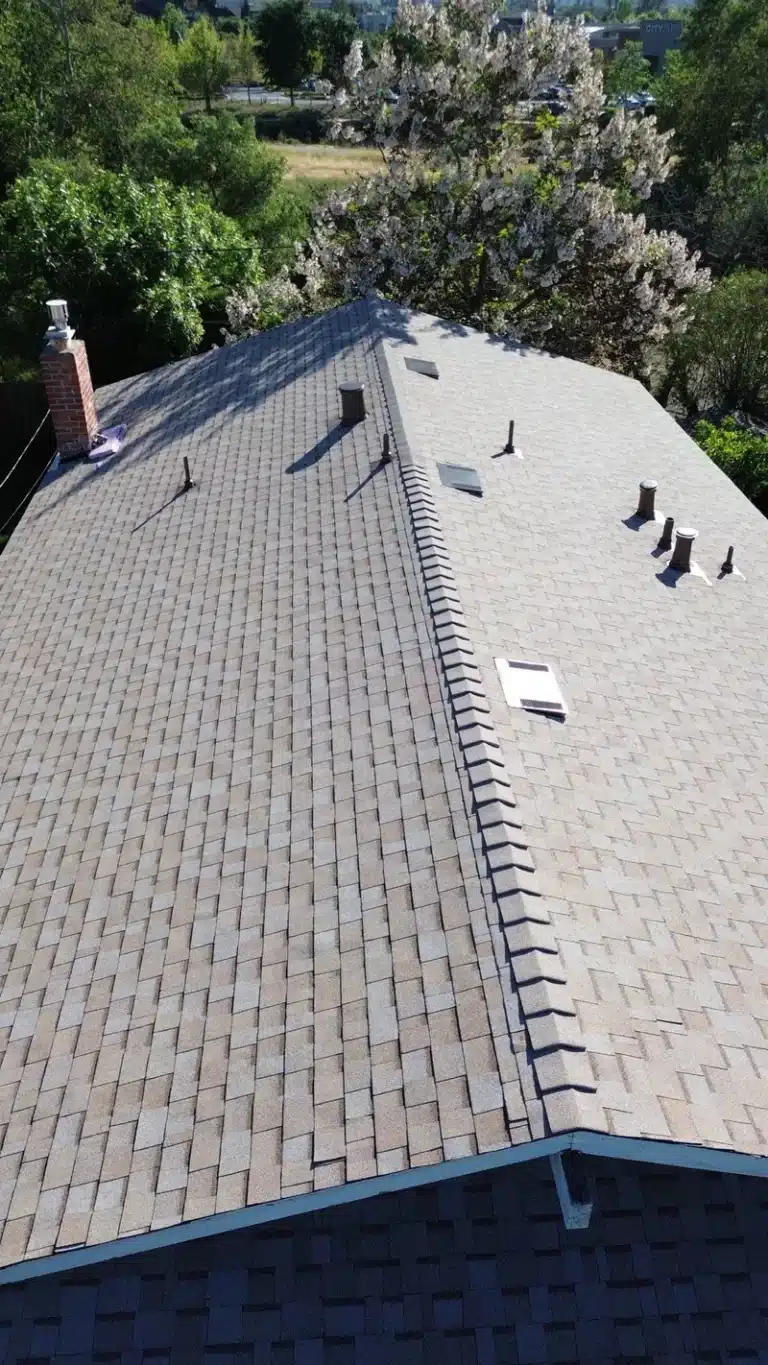
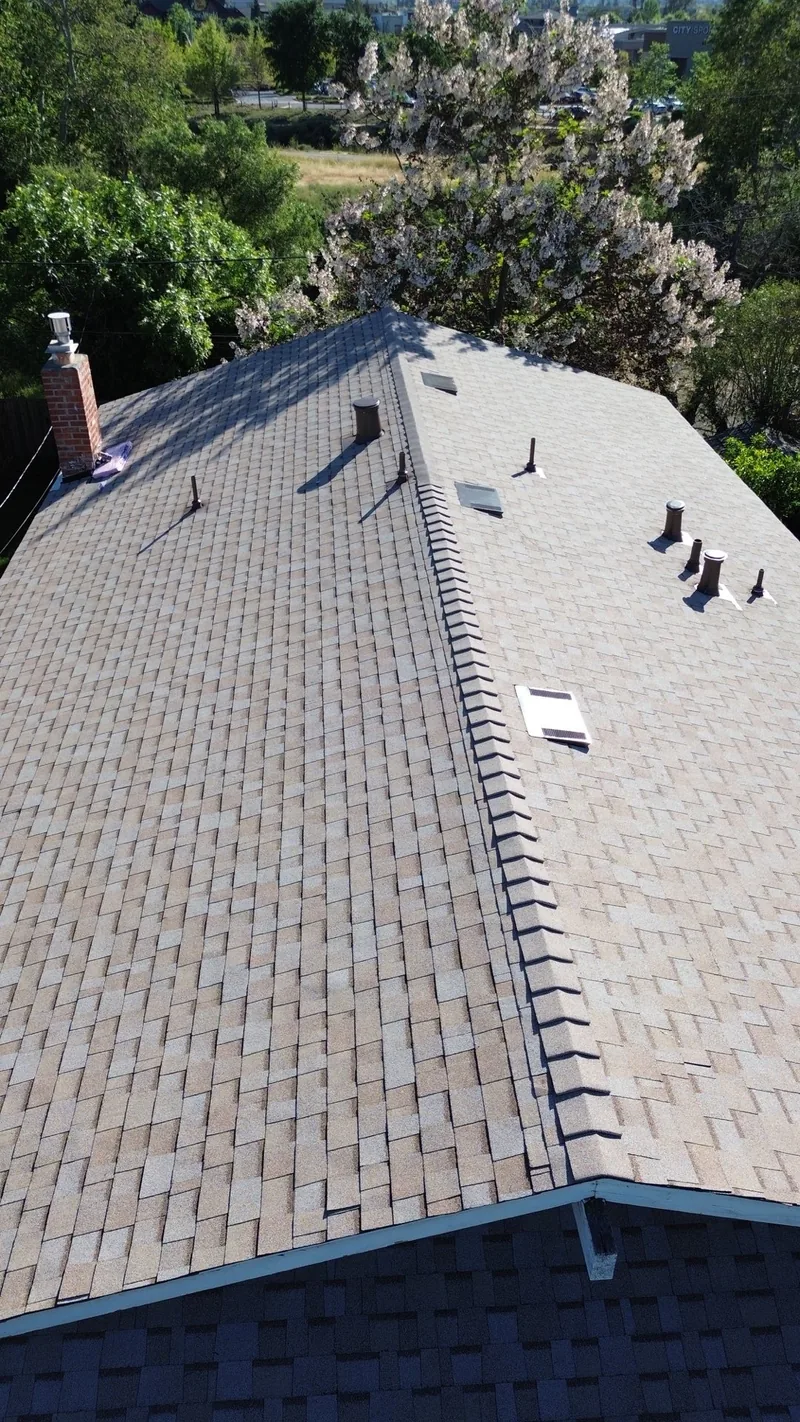
Quick answer: This tile-to-shingle roof replacement in San Jose is a real Lifetime Roofing & Renovation project. We removed an aging concrete tile roof — with failed underlayment, rusted flashing and rotted fascia — from a single-family home in the Blossom Valley area of South San Jose (ZIP 95136) and installed a new Owens Corning architectural asphalt shingle system. The permitted, Title 24–compliant re-roof was completed in about a week, cut the roof’s dead-load weight, and restored full leak protection with a manufacturer-backed warranty.
Concrete tile can last for decades — but the waterproofing underneath it usually can’t. On this South San Jose home, the tile still looked intact from the street, yet the felt underlayment beneath it had worn out, the metal flashing had rusted, and sections of the wood fascia and eaves had begun to rot. Rather than re-lay heavy tile over failing materials, the homeowner chose to convert to a lighter, lower-maintenance Owens Corning architectural shingle roof. Here is exactly how our C-39 licensed crew handled the project — plus what every San Jose homeowner should know about permits, Title 24 and cost.
Project snapshot
| Location | Blossom Valley area, South San Jose, CA (95136), Santa Clara County |
|---|---|
| Property type | Single-family residential home |
| Scope of work | Full tear-off of concrete tile roof → new architectural asphalt shingle system |
| Roofing material | Owens Corning architectural (dimensional) asphalt shingles |
| Repairs found | Failed underlayment, rusted flashing, rotted fascia & damaged decking — all replaced |
| Timeline | Approximately one week, spring 2026 |
| Permitting | Permitted through the City of San Jose; Title 24 cool-roof compliant |
| Contractor | Lifetime Roofing & Renovation — Owens Corning Platinum Preferred, C-39 licensed |
Why replace a concrete tile roof with shingles?
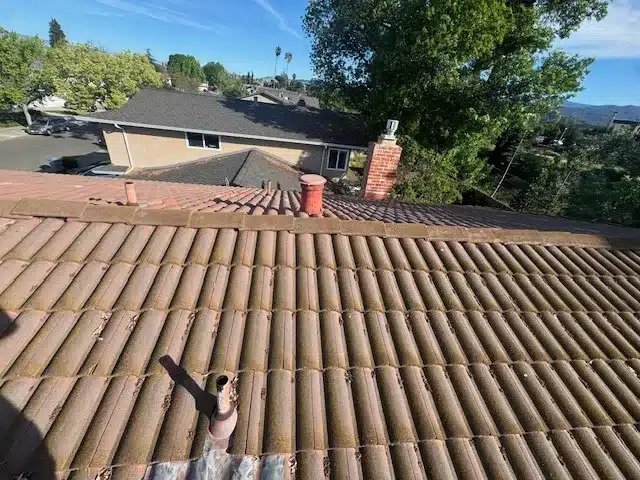
Concrete and clay tile are common across San Jose and the wider Bay Area because the tiles themselves last a long time. The catch is that the waterproofing under the tile — the underlayment — typically lasts only 20–30 years. Once that felt dries out and cracks, water reaches the decking even though the tiles still look fine. On this roof, the underlayment was spent, the flashing had rusted through, and the fascia had started to rot. We did the same conversion on a two-storey house in Castro Valley. You can see the tile-to-shingle roof in Castro Valley go from concrete tile to bare plywood to finished shingle.
For this homeowner, switching to architectural shingles made sense for four reasons:
- Weight. Concrete tile is heavy. Moving to asphalt shingles significantly reduces the dead load on the home’s framing.
- Cost. A shingle re-roof is generally less expensive to install and repair than re-laying or replacing tile.
- Maintenance. Walkable shingle roofs make future repairs and solar installs simpler, with no cracked-tile issues.
- Curb appeal & warranty. Modern dimensional shingles give a clean, updated look backed by a manufacturer warranty.
How we replaced the roof, step by step
Every re-roof we perform follows a consistent, code-compliant process. Here is how this South San Jose project came together.
1. Full tear-off and site protection
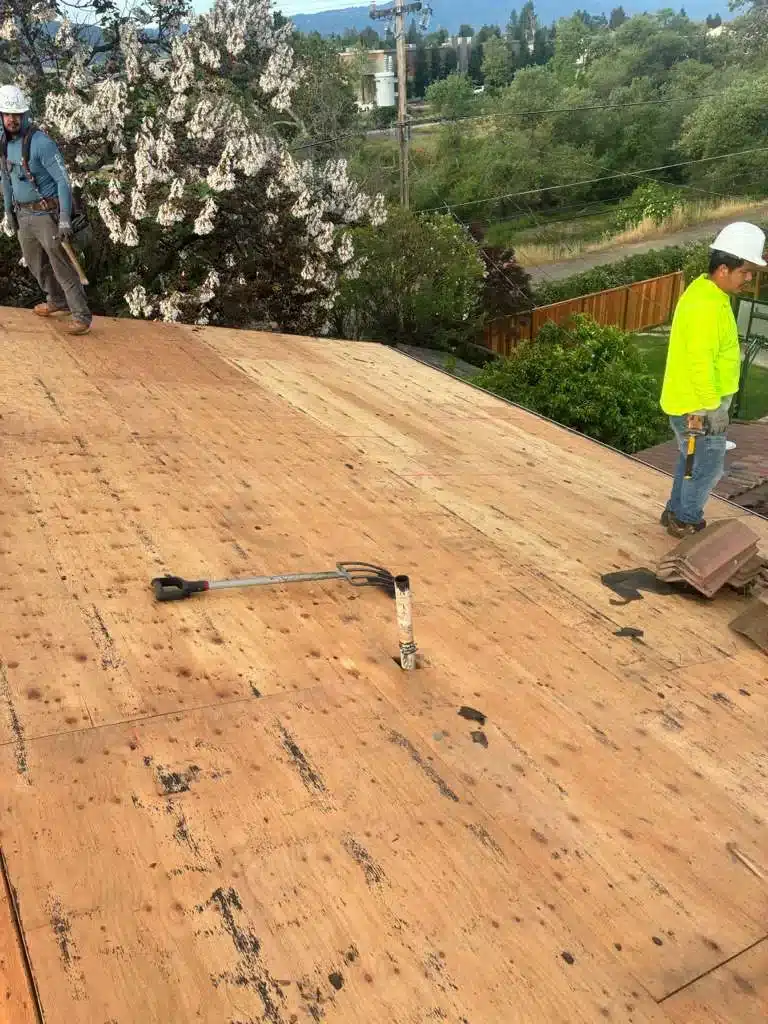
The crew stripped every concrete tile down to the wood decking, stacking and hauling away the old tile while protecting the landscaping, patio and pathways below. Removing all of the old material — rather than layering over it — lets us inspect the structure and start clean, which is also what San Jose’s energy code expects on a full re-roof.
2. Inspect and repair the decking, fascia and flashing
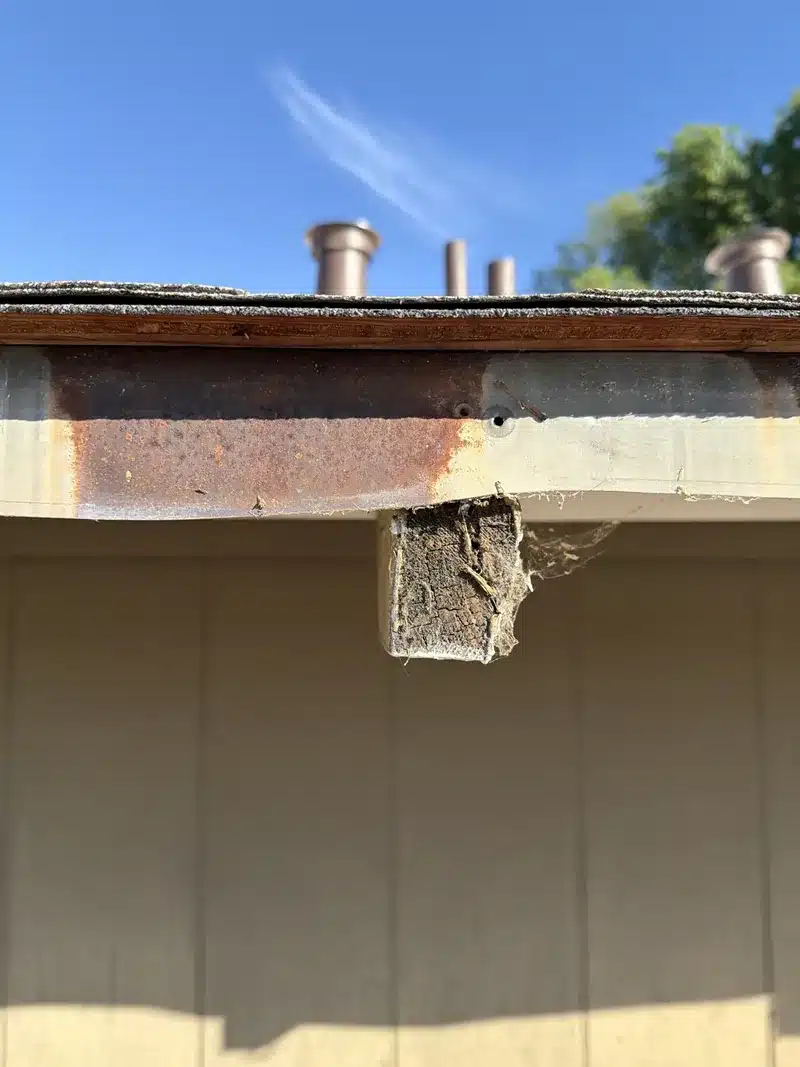
With the roof stripped, we inspected the plywood sheathing for dry rot, delamination and soft spots and replaced damaged sections. We also found rusted flashing and rotted fascia at the eaves — common on older San Jose homes — and rebuilt those areas. A sound deck and solid trim are the foundation of a watertight roof; there is no point installing new shingles over compromised wood.
3. New underlayment and flashing
We installed fresh synthetic underlayment across the entire roof, plus new flashing at the valleys, chimney, pipe penetrations and roof-to-wall transitions. This waterproofing layer is what actually keeps San Jose’s winter rains out of the house.
4. Install Owens Corning architectural shingles
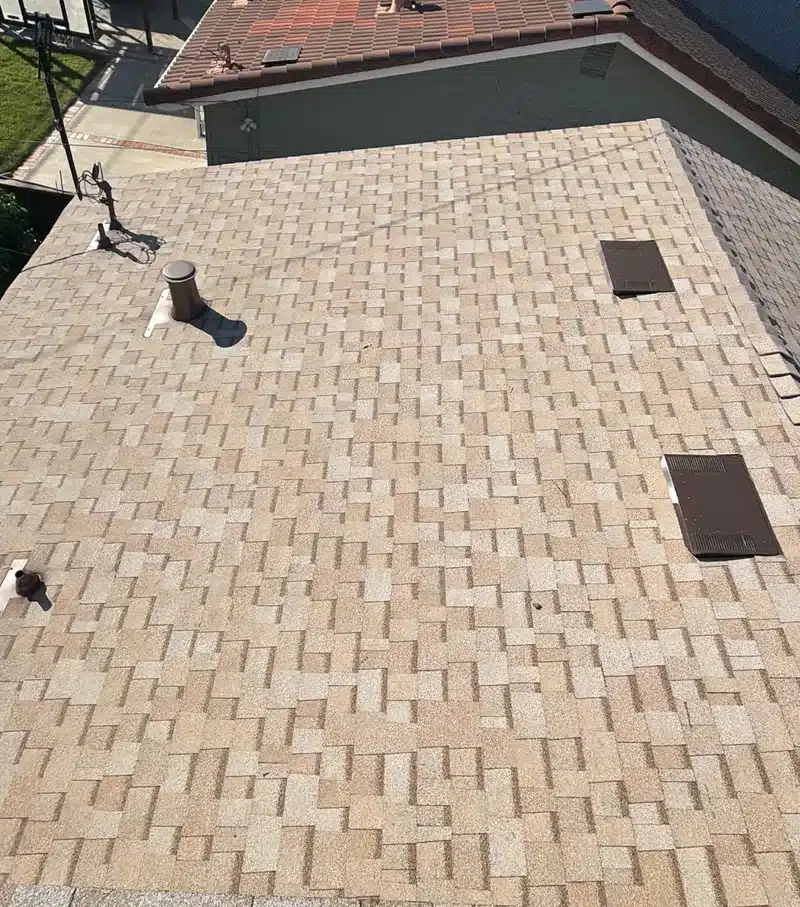
As an Owens Corning Platinum Preferred contractor, we installed a complete Owens Corning architectural shingle system — starter strip, field shingles, hip-and-ridge caps and ridge ventilation — to manufacturer specification. Installing the full system through an approved contractor is what unlocks Owens Corning’s strongest workmanship-and-materials warranty coverage.
5. Cleanup, magnet sweep and final inspection
We hauled away all debris, ran magnetic sweeps for stray nails, and completed a final quality walkthrough before the City of San Jose inspection closed out the permit.
San Jose permits, Title 24 and structural load
A tile-to-shingle conversion in San Jose is not just a materials swap — it triggers specific local requirements. Here is what applied to this project and will apply to yours.
Permits
The City of San Jose requires a building permit when 25% or more of a roof is replaced in a 12-month period, and any change in roofing material type requires a permit so an inspector can verify a safe, code-compliant installation. A full tear-off like this one always requires one. Permits can be pulled online through SJPermits.org, and we handle the paperwork for our customers.
Title 24 cool-roof compliance
California’s Title 24 energy code sets cool-roof and energy requirements that generally apply when 50% or more of the roof area is replaced. Because this was a complete re-roof, we installed Title 24–compliant materials and the roof passed its energy inspection. (Note: San Jose adopted the 2025 California Building Codes effective January 1, 2026, so new permits follow the current code cycle.)
Structural weight — a hidden benefit
San Jose requires an engineering analysis of the roof structure when the total weight of all roof coverings exceeds 7 pounds per square foot. Concrete tile is heavy and can approach or exceed that threshold; asphalt shingles weigh far less. Converting from tile to shingles reduces the dead load on your framing rather than adding to it — a quiet structural win.
Frequently asked questions
Do I need a permit to replace my roof in San Jose?
Yes. The City of San Jose requires a permit when 25% or more of the roof is replaced in a 12-month period, and any change in roofing material requires one. A full re-roof always needs a permit, which can be filed online through SJPermits.org. Lifetime Roofing & Renovation pulls the permit for you.
Is it worth switching from tile to asphalt shingles?
For many San Jose homes, yes. Architectural shingles cost less to install and repair than tile, weigh far less (reducing structural load), and are easier to maintain and re-work for solar. Tile can be re-laid instead, but if the underlayment has failed, a shingle conversion is often the better value.
How long does a roof replacement take?
A typical single-family re-roof in San Jose takes two to five working days, depending on roof size, complexity and weather. This tile-to-shingle project ran about a week including tear-off, decking and fascia repairs, installation, cleanup and the final City inspection.
How much does a roof replacement cost in San Jose?
Most San Jose asphalt shingle re-roofs fall roughly between $12,000 and $25,000, driven by roof size, pitch, decking and fascia repairs, material grade and permit fees. Tile removal and structural factors affect the total. The most accurate number comes from a free on-site inspection and written estimate.
What shingles and warranty do you offer?
We install Owens Corning architectural shingle systems. As an Owens Corning Platinum Preferred contractor, Lifetime Roofing & Renovation can offer Owens Corning’s upgraded workmanship-and-materials warranty coverage when the complete system is installed to specification.
Thinking about a tile-to-shingle roof in San Jose?
If your tile roof is leaking or your underlayment is past its prime, a shingle conversion may be the smarter long-term investment. Lifetime Roofing & Renovation serves San Jose, Santa Clara County and the greater Bay Area with fully licensed (C-39), bonded and insured roofing crews.
Gina K. writes about Bay Area roofing for Lifetime Roofing & Renovation, drawing on the team's 16+ years of experience roofing homes across Silicon Valley.