Asphalt shingles are the most-installed roof in the Bay Area — and as one of the fewer than 1% of contractors who are Owens Corning Platinum Preferred, we can back yours with a 50-year non-prorated system warranty most roofers simply can't offer. We handle Title 24 permits, full tear-off, and code documentation from start to finish.
An asphalt shingle roof is a covering of fiberglass-mat shingles coated in asphalt and mineral granules — the most popular and cost-effective roofing material in San Jose, installed on roughly 8 out of 10 U.S. homes. A professionally installed architectural-shingle roof lasts 22–30 years in the Bay Area's mild climate and costs most San Jose homeowners $12,000–$24,000 fully installed.
Best value — $5–$8 per square foot installed, the lowest cost-per-year of any pitched-roof material.
Warranty that lasts — Owens Corning Platinum lets us register a 50-year non-prorated System warranty on qualifying installs.
Built for California — Class A fire rating and Title 24 "cool" shingle options meet South Bay reroof code.
Any style — dozens of colors and profiles, from clean architectural lines to designer shingles that mimic slate or wood shake.
Most San Jose asphalt shingle roof replacements cost $12,000–$24,000, or about $5–$8 per square foot installed — roughly $7.25 per square foot on average locally. A typical 2,000 sq ft (20-square) architectural-shingle reroof runs about $19,500–$24,000 including tear-off, underlayment and permits, because Bay Area labor sits 15–25% above the national average and a Title 24 cool-roof permit is required in most South Bay cities. See our full Bay Area roof replacement cost guide or compare materials in our 2026 California roofing materials guide.
Roof size and pitch, tear-off of old layers, number of stories, skylights and chimneys, shingle tier (3-tab vs. architectural vs. designer), and city permit fees of $500–$2,000. Complex, steep, or multi-story roofs cost more per square. If your roof only needs a repair rather than a full replacement, we'll tell you honestly.
Full tear-off to the deck, deck/sheathing inspection, new synthetic underlayment, drip edge, ridge venting, code-compliant flashing, magnetic-sweep cleanup, and permit + final inspection — the same scope as a complete roof replacement, with no hidden line items.
We install the full Owens Corning and CertainTeed shingle lines — matched to your budget, HOA rules, and how long you plan to stay in the home.
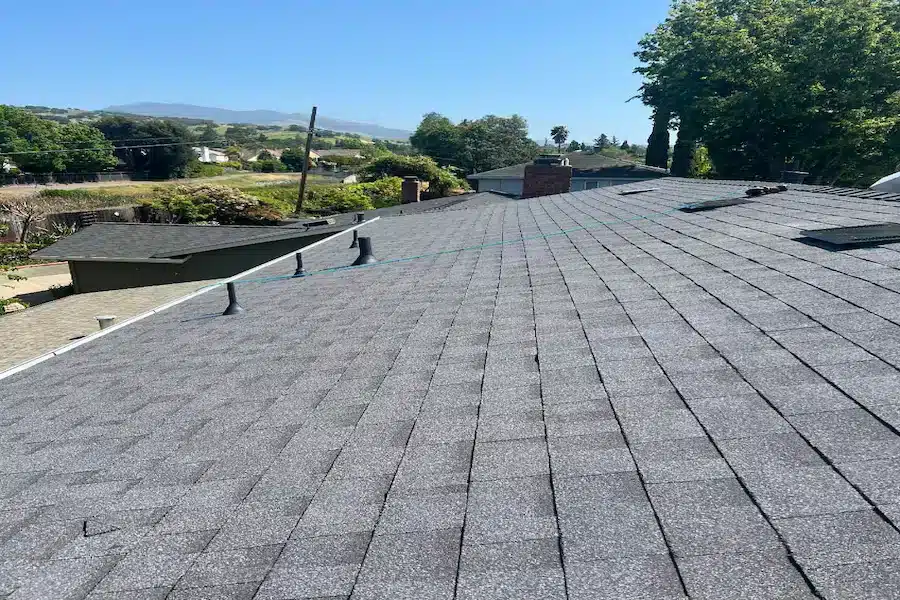
The Bay Area standard — thick, two-layer laminated shingles like Owens Corning Duration. A 130 mph wind rating, a dimensional shadow line, and a 22–30-year real-world lifespan. Our most-recommended tier for San Jose homes.
Luxury laminated shingles — Owens Corning Berkshire and CertainTeed Presidential — that replicate natural slate or cedar shake at a fraction of the weight and cost. Ideal for Los Gatos and Saratoga architecture.
Flat, single-layer shingles at the lowest upfront cost, with a 15–20-year lifespan. A budget option for rentals and simple roofs — we'll tell you honestly when architectural is the smarter long-term buy.
Solar-reflective "cool" shingles such as Owens Corning Duration COOL that meet California Title 24 reflectance rules and cut attic heat — required for most reroof permits in the South Bay. More on our cool roofing page.
It stays the #1 roofing material in America for good reasons — value, versatility, and, installed right, real longevity.
At $5–$8 per square foot installed and 22–30 years of life, architectural shingles deliver the best cost-per-year of any pitched roof — cheaper annually than tile or metal.
Fiberglass-mat asphalt shingles carry a Class A fire rating, the highest available — an important safeguard in California's wildfire-prone zones.
Dozens of colors and profiles, from crisp architectural lines to designer shingles that mimic slate or wood shake — matched to your home and HOA.
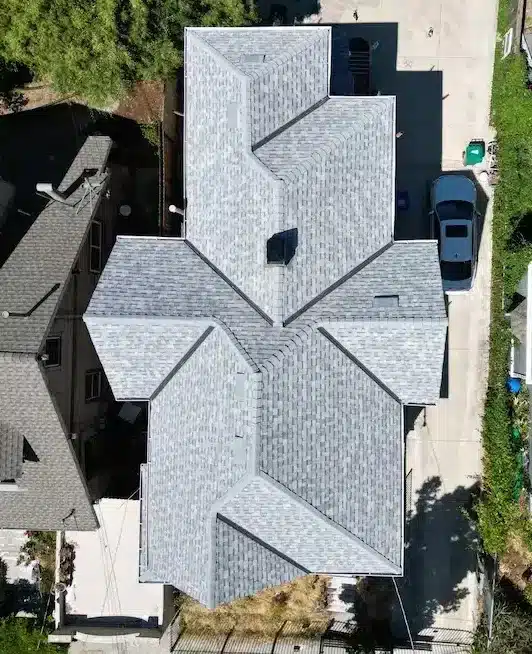
A proper tear-off and re-roof in 1–3 days, documented at every step so your warranty and permit both hold up.
We inspect the roof, attic and ventilation, measure every plane, and give you a fixed written quote with shingle options — no pressure, no vague "starting at" pricing.
We pull the reroof permit and handle Title 24 cool-roof compliance paperwork for your city — San Jose, Sunnyvale, Santa Clara and Campbell all require it.
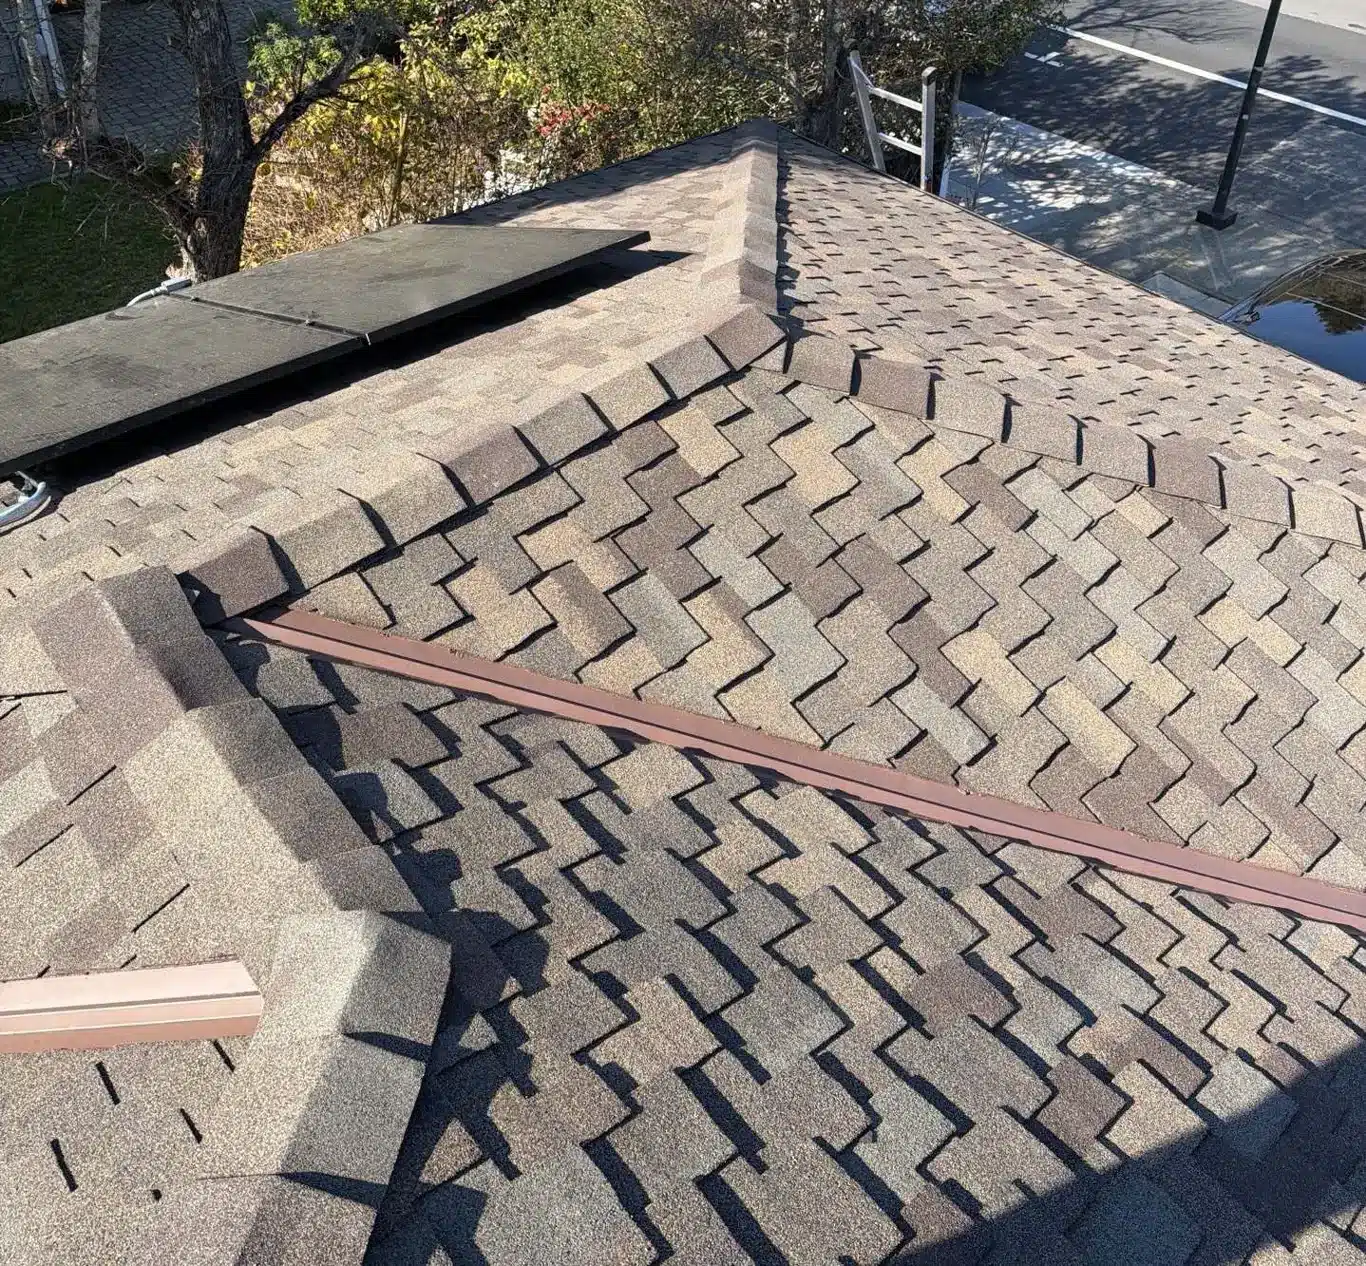
We strip every old layer down to the wood sheathing — never install over old shingles — and haul the debris. Overlays hide rot and void manufacturer warranties.
We inspect the decking, replace any rotted or delaminated sheathing, then install synthetic underlayment, ice-and-water shield in the valleys, and drip edge.
Starter course, field shingles, new pipe boots and step flashing, and ridge-vent or cap shingles — nailed to manufacturer spec so the 50-year warranty holds.
We magnetic-sweep for nails, protect your landscaping, walk the finished roof with you, pass the city's final inspection, and register your warranty.
Family-owned since 2010, more than 1,000 Bay Area roofs installed, and the Owens Corning Platinum Preferred credential to back a warranty most contractors simply can't register.
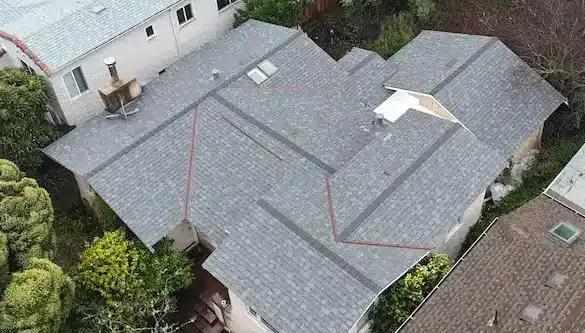
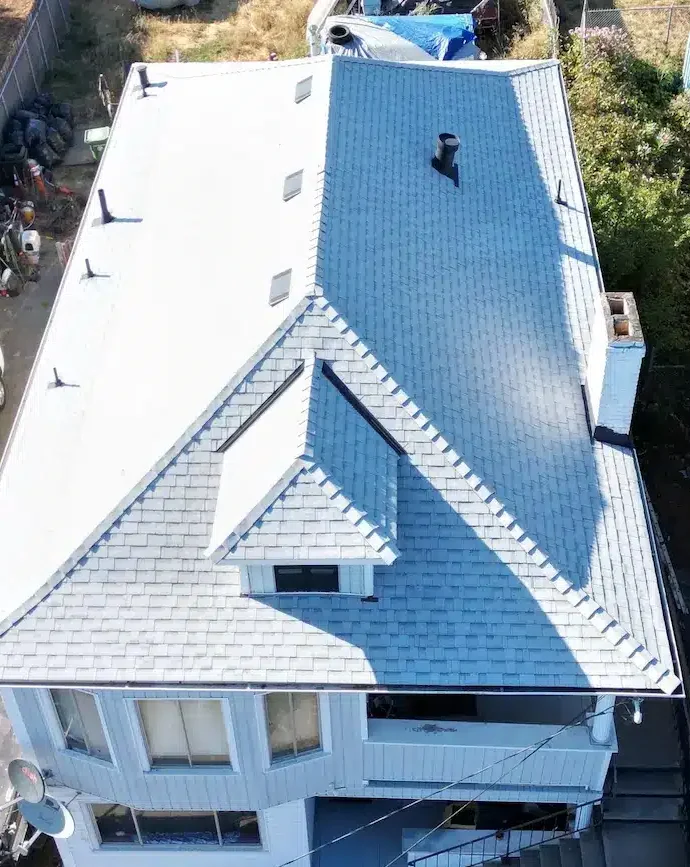
A full tear-off and architectural-shingle replacement on Colby Street in Oakland — worn, granule-bald shingles replaced with a new Owens Corning system.
Most San Jose asphalt shingle roof replacements cost $12,000–$24,000, or about $5–$8 per square foot installed. A typical 2,000 sq ft architectural-shingle reroof runs roughly $19,500–$24,000 with tear-off, underlayment and permits included. See our Bay Area roof cost guide for a full breakdown.
Architectural asphalt shingles last about 22–30 years in the Bay Area's mild coastal climate, while cheaper 3-tab shingles last 15–20 years. Proper attic ventilation and a full tear-off — not an overlay — are what let a shingle roof reach the top of that range.
For almost every San Jose home, yes. Architectural shingles have a double asphalt layer, so they resist heat, UV and wind uplift far better — a 130 mph wind rating and 22–30-year life versus 15–20 years for 3-tab — for only a modest cost increase. We reserve 3-tab for tight budgets and simple rentals.
We don't recommend it. Roofing over old shingles hides rotted decking, adds weight, shortens the new roof's life, and voids most manufacturer warranties — including the Owens Corning system warranty. We always tear off to the bare deck so we can inspect and repair the wood underneath.
Usually yes. San Jose, Sunnyvale, Santa Clara and Campbell require Title 24 cool-roof compliance for reroof permits, which typically means a solar-reflective shingle or an approved exception. We handle the paperwork and install Title 24-rated cool shingles — see our cool roofing page.
Fewer than 1% of roofing contractors nationwide are Owens Corning Platinum Preferred, and only they can register the 50-year non-prorated System Protection warranty covering both materials and workmanship. It is third-party proof of installation quality. Compare the trade-offs in our shingle roofing pros and cons guide.
Straight answers, honest pricing, and a 50-year warranty most contractors can't offer. Serving San Jose, Sunnyvale, Santa Clara, and the greater Bay Area.