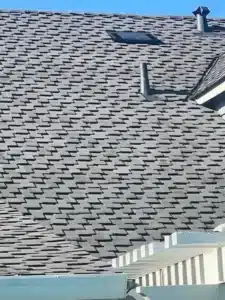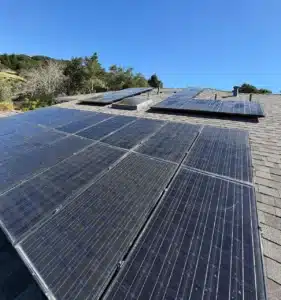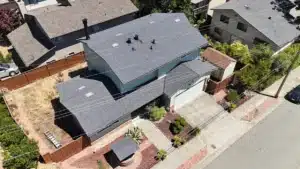
A nine-year-old skylight on Tasman Drive in Sunnyvale was leaking around its edges, so we replaced the entire assembly in a single day: old unit out, new synthetic underlayment around the opening, a new skylight set with metal step flashing woven into the shingle courses, new pipe boots nearby, and fresh shingles cut tight to the curb. The leak stopped at the roof — which is the part that has to happen before any ceiling patch or coat of paint is worth doing.
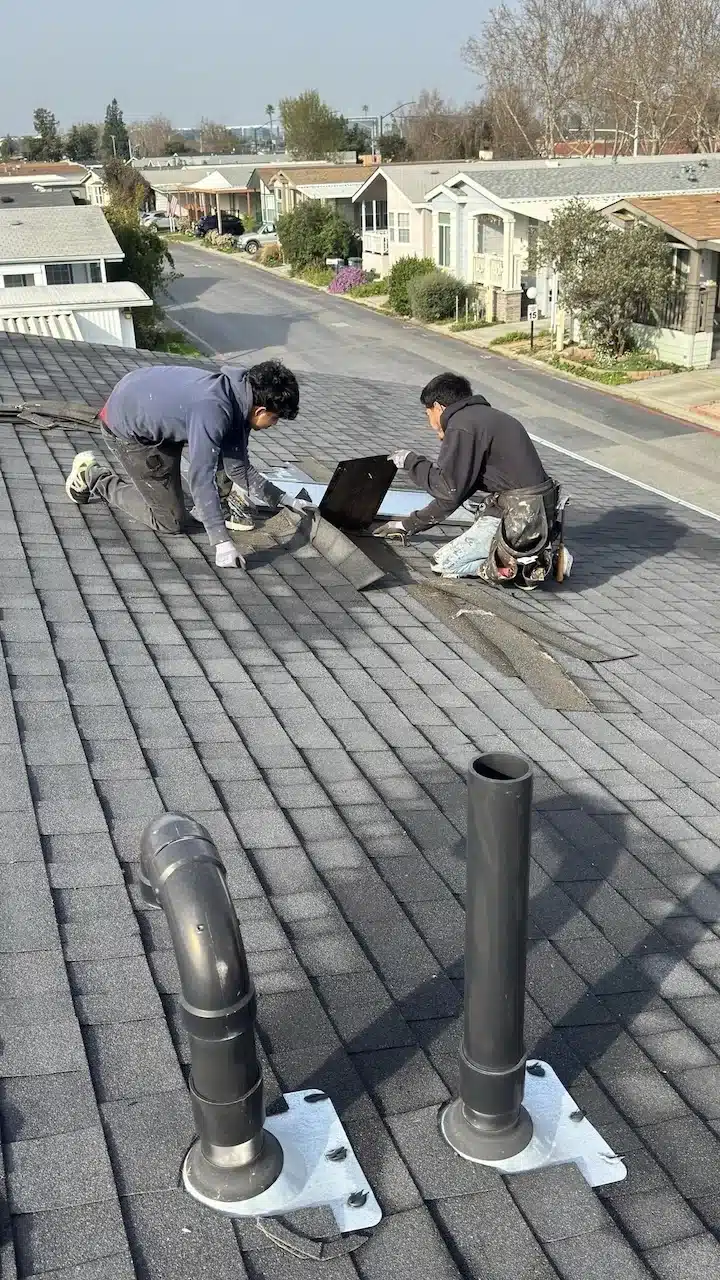
A skylight replacement means removing the old unit and rebuilding the waterproofing around the opening, not just swapping the glass. On this Sunnyvale job we pulled the nine-year-old skylight and the shingles around it, cap-nailed new synthetic underlayment across the deck at the perimeter, set the new skylight with metal step flashing interleaved into the courses, replaced two nearby pipe boot flashings, and re-shingled tight to the curb. Almost every skylight leak we open up starts at the flashing and the perimeter seal rather than the glass, so rebuilding that flashing is the repair. Do it properly and the ceiling stain downstairs becomes a cosmetic job instead of a recurring one.
Nine Years Old and Already Letting Water In
The home is a single-story house on Tasman Drive in Sunnyvale, and the homeowner was on site the whole day. The skylight was about nine years old — young enough that he reasonably expected more life out of it, old enough that the perimeter seal and flashing had quietly given up. That is the classic profile of a skylight leak, and it is why the glass almost never turns out to be the culprit. On this one you could see it from the roof before anything came apart: moss establishing itself along the low edge, an apron flashing that had lifted away from the shingles, and a sealant bead that had gone brittle and pulled loose. Water was not coming through the skylight. It was going around it.
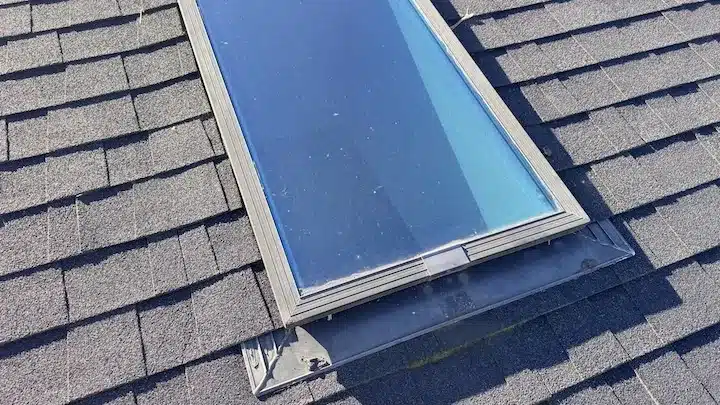
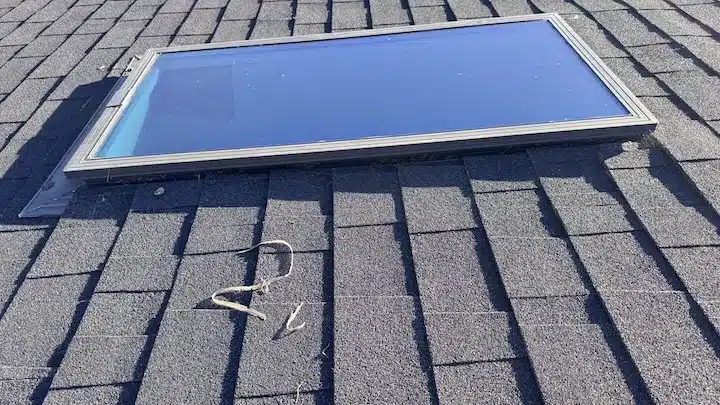
A New Skylight — and a Rebuilt Water Barrier Around It
Dropping a new unit into the old flashing would have left the actual failure point untouched, so we replaced the whole assembly. New synthetic underlayment went down across the deck around the opening as a secondary water barrier, the new skylight was set on the curb, and metal step flashing was woven into the shingle courses on the way up the roof rather than caulked on top of them. Sealant has a role in this work, but it is the backup — the shingles and the metal do the waterproofing, and the underlayment beneath catches anything that ever gets past them. That layering is the single biggest reason a properly replaced skylight does not start leaking again in three winters. It is the same standard we hold on every skylight installation and replacement we do.
Old Unit Out, Deck Inspected, New Flashing In
The crew started by pulling the shingle courses back well beyond the skylight itself, then lifted the old unit out. That extra few feet of tear-back is deliberate: it is the only way to actually see the roof deck and the sheathing around the opening, which is exactly where a long-running leak would have left rot or staining. This is the step that answers the question every homeowner with a ceiling stain is really asking — what is going on up there that I cannot see?
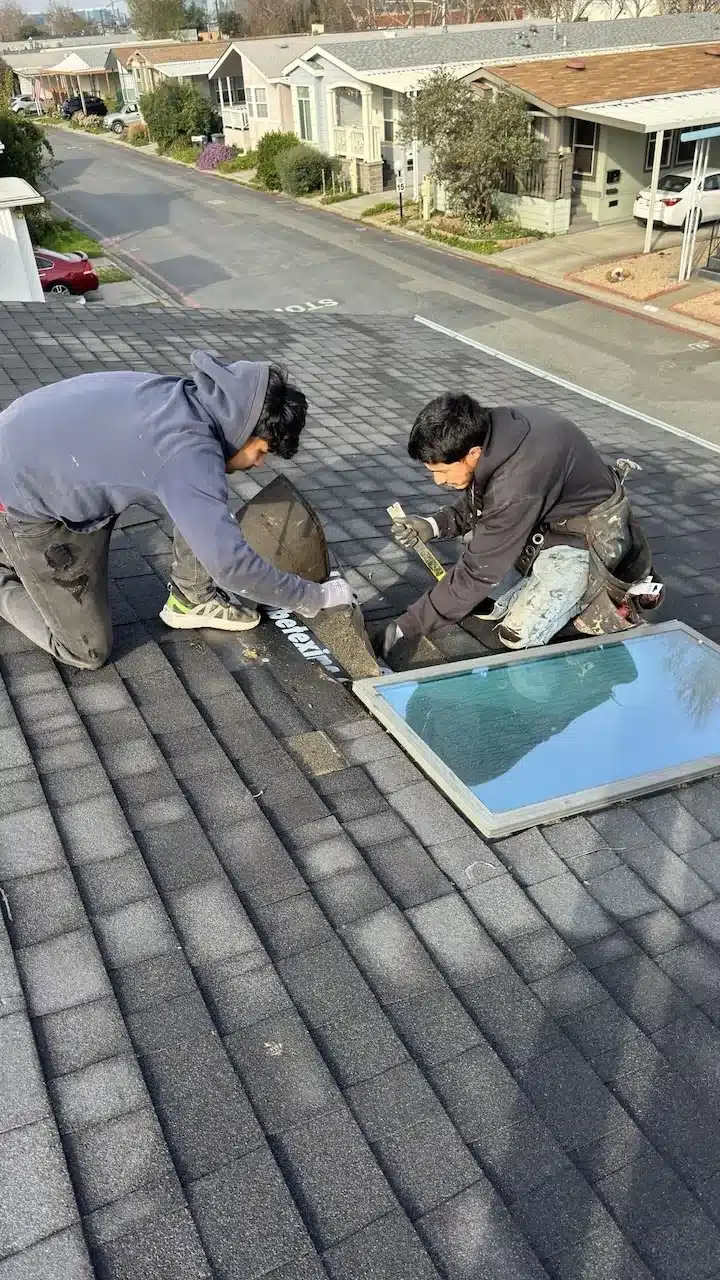
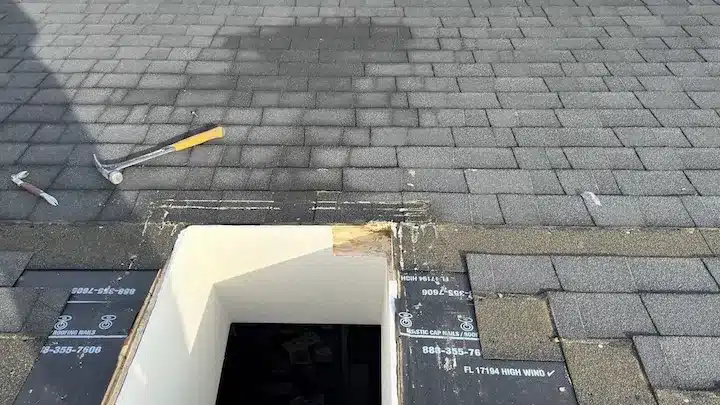
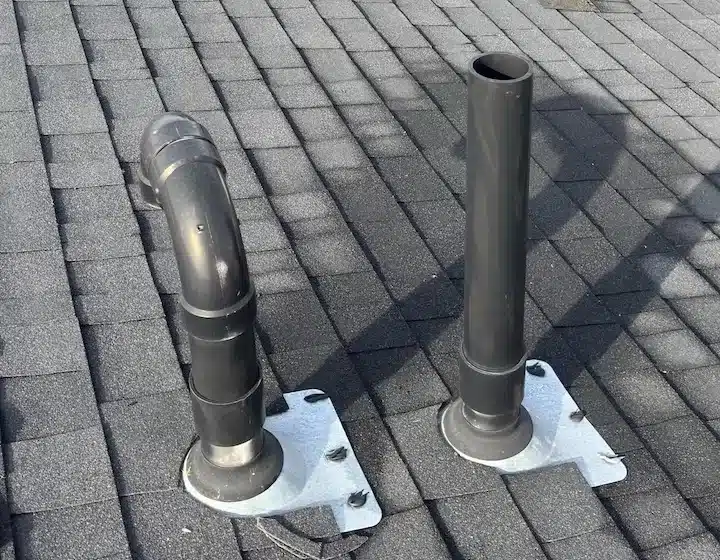
With the deck checked and the underlayment down, the new skylight went in and the step flashing was set course by course as the shingles went back on. While the crew was up there they also replaced the two pipe boot flashings near the skylight, since cracked boots are the next most common leak source on a roof of this age and there is no sense leaving a nine-year-old one next to brand-new work. The shingles were then cut tight around the curb for a clean, watertight finish, the roof was swept and magnet-rolled, and the homeowner walked the job before the crew left. Start to finish, it was a single day.
Before vs. After
| Feature | Before | After |
|---|---|---|
| Skylight unit | Nine-year-old original, leaking at the perimeter | New skylight set on a rebuilt, properly flashed opening |
| Perimeter waterproofing | A surface sealant bead, dried and pulled loose | Synthetic underlayment plus metal step flashing woven into the shingles |
| Pipe boot flashings | Original boots, same age as the failing skylight | Two new pipe boots installed while the crew was on the roof |
| Shingles around the opening | Weathered, with moss along the low edge | Fresh shingles cut tight to the curb |
| Interior | Active leak showing around the skylight shaft | Dry — drywall repair and paint can proceed safely |
| Timeline | — | Completed in one day, homeowner on site throughout |
Why Skylight Leaks Sneak Up on Sunnyvale Homeowners
Our weather is very good at hiding this failure. Five or six rainless months bake the sealant and the gaskets around a skylight until they shrink and crack, and then the first serious atmospheric river of the winter finds the gap. Because the leak only shows during heavy, wind-driven rain, it reads as minor — but each storm has been wetting the deck and the drywall in the shaft. Skylights are also the one roof penetration whose failure you see from the couch: the shaft carries water straight to a visible ceiling, which is genuinely lucky, because a pipe boot failing the same way would soak an attic for a year before anyone noticed. If you are seeing a ring near yours, treat it as early information, not a disaster. That is how we handle roofing work throughout Sunnyvale — find the actual entry point, rebuild it properly, and keep the repair small.
What Homeowners Ask Us About Leaking Skylights
Should I repair or replace a leaking skylight?
If the unit itself is sound and only the flashing has failed, re-flashing it can be the right call. Once the perimeter seal has gone brittle and the flashing has deformed — which is what we found on this Sunnyvale job at nine years old — replacing the unit and the flashing together is the repair that actually lasts. A reseal on a skylight in that condition typically buys one season, and you pay for the tear-back and the shingle work twice.
Do I need to worry about mold from a skylight leak?
Caught at the faint-ring stage, it is usually localized to the drywall right at the skylight shaft rather than a wall-opening emergency. The signals worth acting on are drywall that feels soft or spongy, a stain that keeps growing after the roof is fixed, or a musty smell in the room. We inspect the roof deck and sheathing around the opening as part of every skylight replacement, so you find out what the water actually reached before you close anything up.
How soon can I patch and paint the ceiling after a skylight replacement?
Stop the leak first, then let the drywall dry completely — usually a week or more of dry conditions — before you patch. Prime the stain with a stain-blocking primer rather than painting straight over it, or the tannins will bleed back through your new paint within weeks. Homeowners who patch and paint before the roof work is done almost always end up doing the ceiling twice.
Seeing a Stain Near Your Skylight?
We will get on the roof, find where the water is actually getting in, and tell you straight whether it is a re-flash or a full replacement. See more finished work in our roofing projects.
Gina K. writes about Bay Area roofing for Lifetime Roofing & Renovation, drawing on the team's 16+ years of experience roofing homes across Silicon Valley.